
If you have ever been in the dollar section at Target, then I'm sure you can relate. If you haven't, go to Target NOW! It is the best and worst idea Target ever had. The best because it is filled with tons of adorable items, and for the most part they are only $1!!! But this can also be a very bad thing, because you pick up a million things telling yourself, "Its only a $1, I cannot pass this up!" and then you get to the register and your total is $47... I may or may not be speaking from experience.
Anyway, I found these adorable baskets in the dollar section and had to get them because the colors were so spring-y! And then I used some extra vinyl I had sitting around.
So these baskets were not even $2 a piece to make!
I got the chevron bunny file from the Facebook group All Things Silhouette Cameo & SD but you can download it here!
Then I used the font Making Lettering Tall, that you can get for free here!
I always use Oracal vinyl, but any kind will work for these baskets since they won't be outdoors or washed.
First you want to open your Silhouette program and open the Chevron Bunny file. Then size the bunny to however big you want it to be on the basket. I made mine 2 1/2 inches tall. Then duplicate it to make however many bunnies you want. I did nine because I had three of each color basket.

Now you want to open a new project in Silhouette and choose the text tool. Then on the right hand side scroll in the font options to find Making Lettering Tall. Click where you want the text and type a name, or whatever you want on your baskets. Then I always fill in the color because it makes it easier for me to work with, and I also like to change the line thickness (under the line tab).

Next you want to size your vinyl to what you need and place it, color side up, on your mat. Then load your mat into the Silhouette and go to the cut settings. Select the vinyl option from the menu or input your own settings. I normally choose the vinyl setting and then increase the thickness to 10. Now you're ready to cut!
Once you've cut your bunnies and names, weed out (remove) the excess vinyl. Always clean the surface you're about to adhere vinyl to; I normally use rubbing alcohol or glass cleaner. Then using your contact paper or transfer tape, my favorite is the Cricut brand (I know this is a Silhouette tutorial... don't judge me!), pick the vinyl up off the backing and stick it to your basket. Repeat until all baskets are adorable and done!
On to the inside. First off, the cupcakes. I just made a basic white cake with vanilla buttercream frosting, but you could use any kind of cake and pretty much any kind of icing as long as it is not too runny to pipe and it crust when it dries (I wouldn't recommend canned icing). These adorable flowers are easier to make than they look, I found some awesome tips and pictures over at My Cake School.


Now your ready to fill up your baskets! For mine, I balled up some green tissue paper to fill up most of the space, then put the cupcake on top and filled in the holes with the paper grass. This seemed to work the best for me, just make sure your icing has had plenty of time to crust, so they don't get messed up as easily.

These take a little time, but they are pretty inexpensive and adorable gifts for spring. And who doesn't love bunnies?!
But that's not all! Check out these other blogs for 40 more awesome Spring Silhouette Projects!
Seriously, you have to go look at them! These other 40 bloggers and I are participating in the Silhouette Challenge where each month we all post a Silhouette project with that month's theme! Here are the themes so be sure to check back each month for more awesome projects!

Want to Check Out More Silhouette Projects?
My Silhouette Challenge buddies and I are all sharing projects on our blogs today, so peruse the projects below for a wealth of Silhouette inspiration!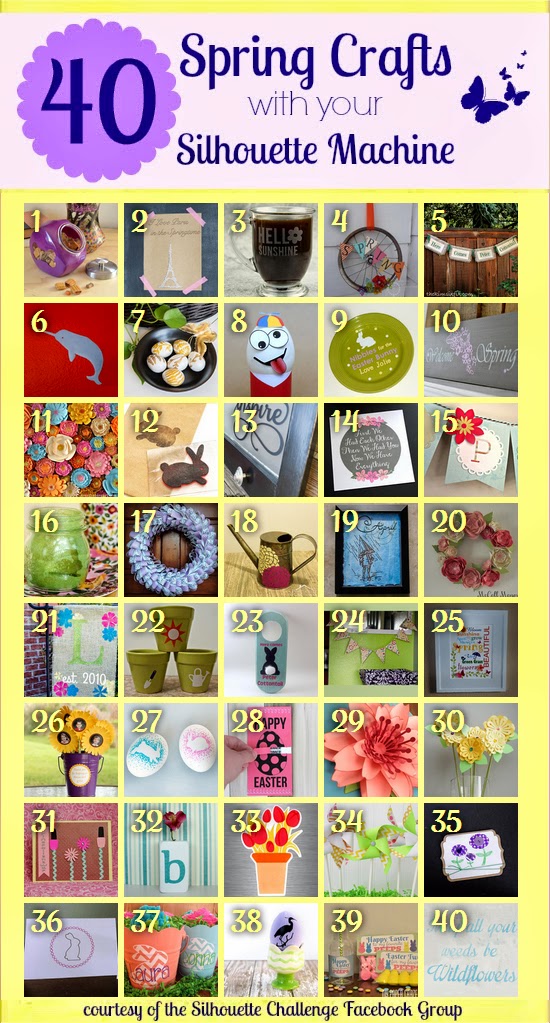
1. Dream a Little Bigger // 2. So Much Better With Age // 3. Adventures in All Things Food // 4. Creative Carnival // 5. The Kim Six Fix // 6. feto soap // 7. One Dog Woof // 8. The Experimental Home // 9. From Wine to Whine // 10. Architecture of a Mom // 11. Grey Luster Girl // 12. Minted Strawberry // 13. Designed Decor // 14. Tried & True // 15. Silhouette School // 16. Bringing Creativity 2 Life // 17. Weekend Craft // 18. Practically Functional // 19. Please Excuse My Craftermath... // 20. McCall Manor // 21. unOriginal Mom // 22. Creative Ramblings // 23. A Tossed Salad Life // 24. A Glimpse Into Barb's Life // 25. Kate's Paper Creations // 26. Simply Kelly Designs // 27. Cutesy Crafts // 28. Persia Lou // 29. Whats Next Ma // 30. Two Purple Couches // 31. The Frill of Life // 32. Nearly Handmade // 33. Get Silvered // 34. Ginger Snap Crafts // 35. Life After Laundry // 36. The Sensory Emporium // 37. Monograms & Cake // 38. The Thinking Closet // 39. My Paper Craze // 40. Chicken Scratch NY
Your cupcakes look AMAZING and I love the chevron bunnies! thanks for sharing the tutorial!
ReplyDeleteadorable baskets...but what i really want is a cupcake! :-)
ReplyDeleteWow! Not only are you an amazing crafter but your cupcakes are stunning! I wish I could pipe like that!
ReplyDeleteThis a really cute project! I wish I were getting one from someone!
ReplyDeleteOh Wow! The chevron Bunnies are so cute against the scalloped buckets. And another Wow for the cupcakes - they look amazing.
ReplyDeleteWhat lovely little baskets! I'm sure the ladies that received them just adored them. And who wouldn't love a flower cupcake as a springtime gift?
ReplyDeleteThese are adorable! I love the chevron pattern inside of the bunny! And I also love the Target dollar section... it's awesome, but dangerous!
ReplyDeleteThank you everyone! (:
ReplyDelete
ReplyDeletehttps://www.gladwingroup.com/interactive-led-flat-panel-display-supreme-9-series.php